A History on Video Editing:
For many years, movies were shot on film and shown through a projector. Film had to be cut and fix back together again so that unnecessary shots can be taken out or edits can be made. Film was developed in a darkroom after each filming day.
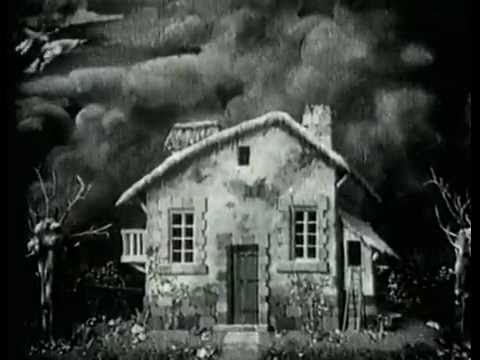
In 1895, two brothers named Lumière publicly screened a film called "Workers leaving the Lumière factory". The film was of many people leaving a building after a days work. In 1895, many audiences thought that this film was revolutionary in some ways. Even the next film to be publicly shown "Arrival of the train at LA Ciotat", many audiences were scared because they thought the train was real and was going to hit them. One man, Georges Méliès, wanted to buy the film projector from the company, but was rejected. Georges went on to buy another film projector (this one originating from England), he reversed the mechanics of the projector to create a film camera. He decided the following year in 1896 to film a bus, but in the process his camera had jammed. The bus then left the viewpoint of the camera and when the camera started rolling again there was a carriage in the place of the bus. Looking back on this film, Méliès thought that the jump looked magical, but what had happened was something called a Jump Cut. Méliès went on to make films where people disappeared and appeared out of nowhere. Also using visual effects like smoke, he made his next film 'Haunted House' and then he went on to create other visual effects like fade in and fade out and cross-fading.

In America, Edwin S. Porter was a go-to director for Edison, and in 1896, Porter helped create the first 'cinema'. In 1903, Edison went on to make films like Méliès, but had added his own voice to the film. He added Temporal Overlaps (which helped the audience understand the passage of time) and at the end of 1903, he uses cuts between different scenes to show progression of time. Later on, D.W. Griffith decided to take up filming and used conventions from Charles Dickens books like the cut-away in which it shows something happening in one place and then cuts to another place where something else is happening in the same space of time. D.W. Griffith went on to making the largest production to that date, spending over $2.5 million. He invented the cut in (using establishing shot) and also created continuity editing and the 180 degree rule was also created. Griffith had created most of modern editing.
Sources: https://en.wikipedia.org/wiki/Georges_M%C3%A9li%C3%A8s
https://en.wikipedia.org/wiki/Auguste_and_Louis_Lumi%C3%A8re
What is the 180 degree rule?
Workers Leaving the Lumiere Factory (https://s3.amazonaws.com/auteurs_production/images/film/workers-leaving-the-lumiere-factory/w1280/workers-leaving-the-lumiere-factory.jpg)
The Haunted House (https://i.ytimg.com/vi/Zo2EKNRIQlE/hqdefault.jpg)
In America, Edwin S. Porter was a go-to director for Edison, and in 1896, Porter helped create the first 'cinema'. In 1903, Edison went on to make films like Méliès, but had added his own voice to the film. He added Temporal Overlaps (which helped the audience understand the passage of time) and at the end of 1903, he uses cuts between different scenes to show progression of time. Later on, D.W. Griffith decided to take up filming and used conventions from Charles Dickens books like the cut-away in which it shows something happening in one place and then cuts to another place where something else is happening in the same space of time. D.W. Griffith went on to making the largest production to that date, spending over $2.5 million. He invented the cut in (using establishing shot) and also created continuity editing and the 180 degree rule was also created. Griffith had created most of modern editing.
Sources: https://en.wikipedia.org/wiki/Georges_M%C3%A9li%C3%A8s
https://en.wikipedia.org/wiki/Auguste_and_Louis_Lumi%C3%A8re
What is the 180 degree rule?
Imagine two people looking straight at each other. Draw an invisible line that crosses through both of the people. Choose which side you want to shoot from. Pretend there is a semi circle towards the camera side and don't move the camera out of the semi circle. Below is a diagram I quickly made:

Remember, if you break this rule then it can confuse the audience and make the narrative harder to understand or can distract the audience from the geography of the scene, destroying the illusion of film and taking audiences away from the immersion. Breaking the rule can confuse audiences because person A is on the left and person B is on the right, but if the camera was on the other side, person A is now on the right. Here is an example of this from the clip below.


Remember, if you break this rule then it can confuse the audience and make the narrative harder to understand or can distract the audience from the geography of the scene, destroying the illusion of film and taking audiences away from the immersion. Breaking the rule can confuse audiences because person A is on the left and person B is on the right, but if the camera was on the other side, person A is now on the right. Here is an example of this from the clip below.

Visual Analysis:
The clip I will be analyzing is from a Japanese Animated Program called 'Clannad: Afterstory'. This scene is a huge scene has it shows one of the main characters named Nagisa (Nah-Gee-Sar) dying after giving birth to her child named Ushio (OO-shee-o). The scene is infamous to be one of the saddest moments of the series.
The clip I will be analyzing is from a Japanese Animated Program called 'Clannad: Afterstory'. This scene is a huge scene has it shows one of the main characters named Nagisa (Nah-Gee-Sar) dying after giving birth to her child named Ushio (OO-shee-o). The scene is infamous to be one of the saddest moments of the series.
The clip starts at 0:00 and ends at 7:28.
A montage is a series of images or films that show a progression or a story in a short amount of time. They can be used for dreams, narrative progression and showing many different things that all link together. At 5:31, we can see that a montage of the past and clips of what happened in the past. At the start of the montage we can hear narration from the Tomoya and all the clips all cross-dissolve into each other suggesting that the main character Tomoya is remembering all the memories all at once. The montage keeps on playing but narration fades out and the soundtrack becomes louder and all diegetic sounds are now gone. We can also see the juxtaposition of the happy memories of Nagisa and then her dead body with Tomoya over her. A lot of Tomoya's memories have very high-key lighting suggesting that those memories were very valuable to him. The soundtrack also changes in intensity depending what's on screen.

Tomoya's flashback. Slightly white border which connotes a happy memory.

Juxtapose memories with the present where Nagisa is now dead.
 An example of two memories of Nagisa cross-dissolving.
 Tomoya looking over Nagisa. Wide shot to show the action of Tomoya shuffling closer to her and the actions he performs beforehand. White background and unmoving Nagisa can connote death, heaven and passing away.


There is another small montage starting at 1:38 that begins with Nagisa's dad about to smoke but then he puts away his cigarette. We can also hear Tomoya's narration and all shots cut between each other, and one shot shows the clock which tells the audience it is very late which implies that this struggle had been going on for a long time. There are some shots where the background is black and Tomoya is drawn in white. This suggests that Tomoya is also feeling vulnerable and he is also struggling with the situation he's in. He is also alone in this shot so that also implies that he feels secluded and alone. There is also juxtaposition in this small montage with what is happening. The montage starts with snowing and then cuts to Nagisa struggling to give birth and then it cuts to Tomoya being alone with a black background and then back to Nagisa. The montage ends with Tomoya standing from afar looking away from the screen and then the shot fades to black suggesting an ending to both the montage and Tomoya's personal struggle.

The first shot where Tomoya is alone in the darkness.
 The shot after Tomoya is alone, showing the real life struggles.


Tomoya looking away from the screen. This fades to black suggesting his struggle is coming to an end.
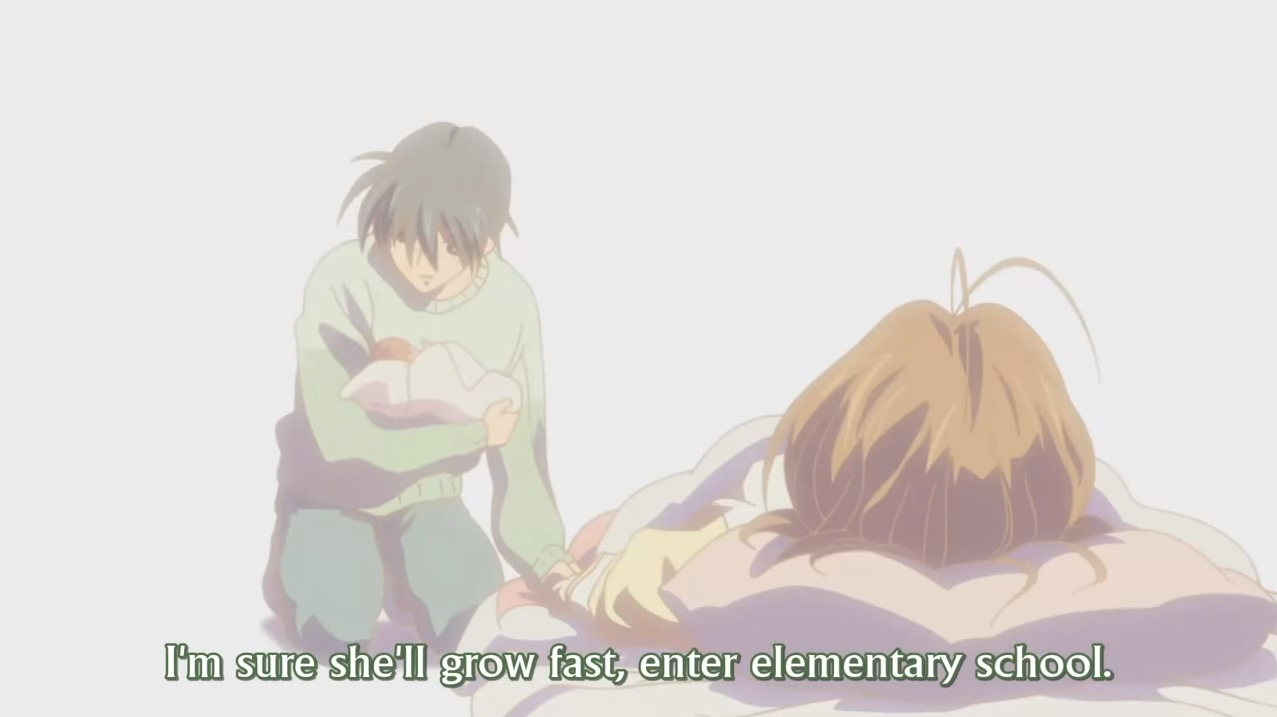
When Ushio (the baby) is born at 2:24, we can hear her crying. Progressively through the dialogue between Nagisa and Tomoya, Ushio's crying becomes quieter. Progressively through their dialogue, the background seems to fade into white and the attention is drawn to both Nagisa, Ushio and Tomoya. Since Tomoya is talking the most, it's implied that where he is right now is a very dreamy scenario since the background had been changing while trying to get Nagisa's attention.

From earlier in the video before Ushio's birth.

After Ushio's birth, we can see the lighting is now at a higher-key suggesting dreaminess.

The background has completely gone, only white remains. Gives the scene a pure and dreamy atmosphere.
A Point of View or POV shot is where the camera is situated in a fashion where it acts as one of the characters point of view. In the POV shot of Nagisa, we can see the edge of the screen pulse with darkness. This shows that she is slipping away and it is difficult for her to keep her eyes open and that she is dying slowly. A lot of the shots are also high angles for Nagisa and low angle shots for the rest of the family and the midwife. This implies that Nagisa is vulnerable or less powerful than the other. Since Nagisa is in a lot of pain and also has her fever, it shows that Nagisa is weak compared to Tomoya, her parents and the midwife. Most shots are close ups or medium shots since the whole scene is emotionally intense. Having close ups shows that Tomoya is sad when Nagisa is dying or when he's trying to talk to Ushio. Also using close ups emphasise the hand holding between Tomoya and Nagisa which enhances the feelings for each other.

High angle on Nagisa to show that she is weak.
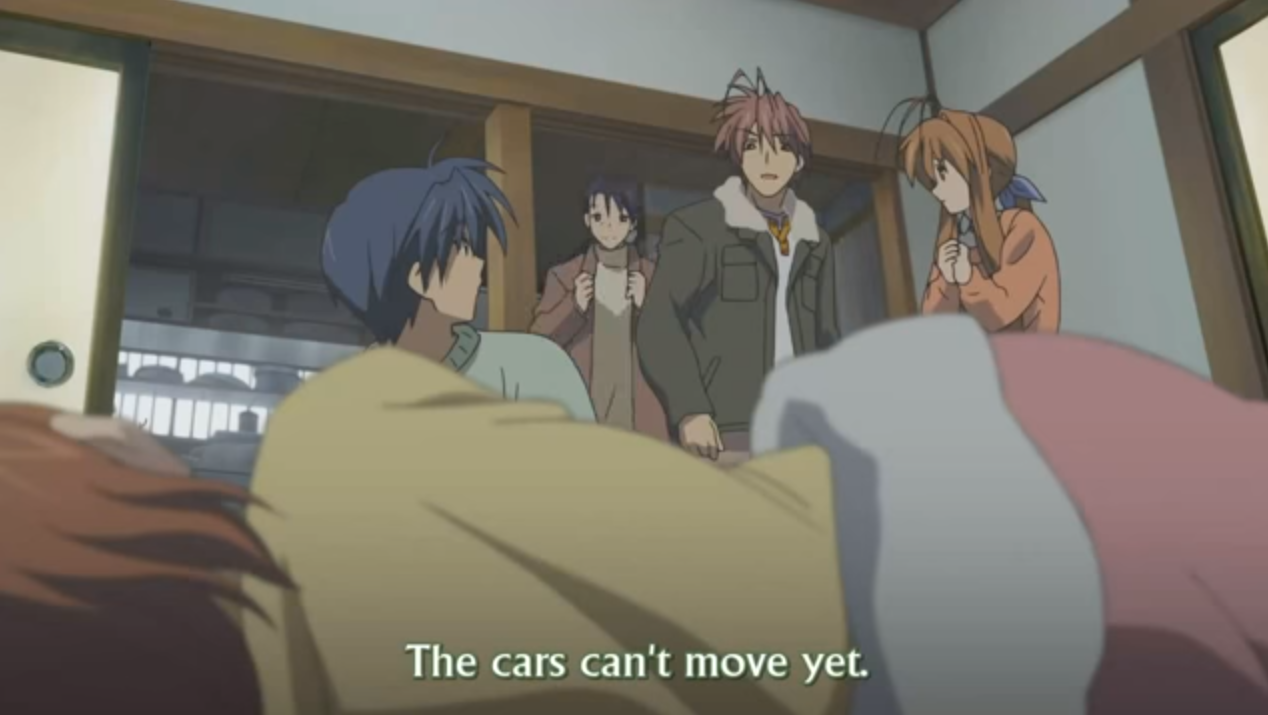
Low angle to show that everyone else isn't vulnerable and in pain.

Close up of Nagisa losing grip of Tomoya's hand. Suggests she is going to leave him in death.

Close up to emphasise the love for Nagisa

Nagisa's POV shot. Showing the black around the edge to show that Nagisa is drawing closer to death. The black around the edges look darker each time suggesting she is passing.
The 180 degree rule does apply to this scene. When Tomoya is talking about Ushio, we see that Nagisa does not respond but we are shown Nagisa listening to Tomoya.


Tomoya talking to Nagisa while she lays there listening to him. This does not break the 180 degree rule since there isn't any breach of this rule. If the rule was broken, Nagisa would be laying to the left of the screen and not how she is in the above screenshot or Tomoya would be on the right side of the bed looking away from the camera. Therefore, the scene is not confusing to the audience. This is also called a shot-reverse-shot. A shot-reverse-shot shows us interaction between two things or characters. As mentioned earlier, Tomoya is talking to Nagisa and she is listening. This is also a eyeline match-cut because Tomoya is looking at Nagisa, then the shot cuts into the camera looking straight at Nagisa from the same angle.
During the shorter montage, we can see that there are many cuts that progress through a lot of time. All the shots with Nagisa vary since some are at a high angle and some are on an eye-line level with Nagisa. The scenes with the snow in this montage cross dissolve into a clip into Nagisa and then cross dissolves back.
Previous shot > cut > Shot of snow falling > cross-dissolve > Nagisa > cross-dissolve > Shot of snow falling > cut >next shot
This shows variance in the editing in the montage. The cross-dissolves are a cutaway and then the cross-dissolves suggest that time has also progressed. The shot of the clock also connotes that a lot of time had passed within the short montage.
A match on action is a type of editing technique that shows a character doing an action and having multiple consistent shots to show this. This is also known as motivational editing. In the clip above, Tomoya reaches for Nagisa's hand and in the next shot we see his hand grab hers.

Tomoya reaching for Nagisa's hand.

Tomoya's hand coming off screen and grabbing her hand.
Screen time is the amount of time the characters are on screen for and this reflects how significant they are. In this clip, Nagisa and Tomoya are the ones with most screen time since the mise-en-scene also makes them the centre of attention. Nagisa and Tomoya are the most important in this scene and Nagisa's parents and midwife are less important, but still get a short amount of time on screen. This shows that they are support characters rather than main characters. Ushio is also considered a main character when she is introduced, but she doesn't get the same amount of time since in this scene she is less important and she was only just introduced to us in this scene.
Conclusion:
The editing and camera angles are all good for the narrative. The angles used shows the characters emotions and actions effectively. The motivational editing (like the match-on-action and eyeline-match shots) enhances the feel. There are a lot of editing and shot variations too to show different emotions etc. I also think that the time and space progression is a strong point in the scene since the cuts and cross-dissolves all suggest a time-skip and even some shots featuring a clock or something that implies time progression. The editing rhythm is also slow to help enhance the narrative since the scene needs a lot of slow shots to show emotions of the characters. The montage closer to the end has different paced cuts and cross-dissolves and it also seems to cut to the soundtrack.