Evaluation-
During shooting, it was essential that we were to keep continuity. This is because this helps build a story with no dialogue and makes the flow of the video smoother.
Lighting
We wanted to go for a darker, more gritty action, so we decided to use more low key contrasts. We decided we wanted to re-film most scenes in order to keep lighting consistent throughout. During editing, we decided that some shots were too bright so we used RGB Curves to make the colours darker and continuous throughout the film. This helped the flow of the film quite a lot, and doing so made the sequence look and feel more professional.
Mise-en-scene
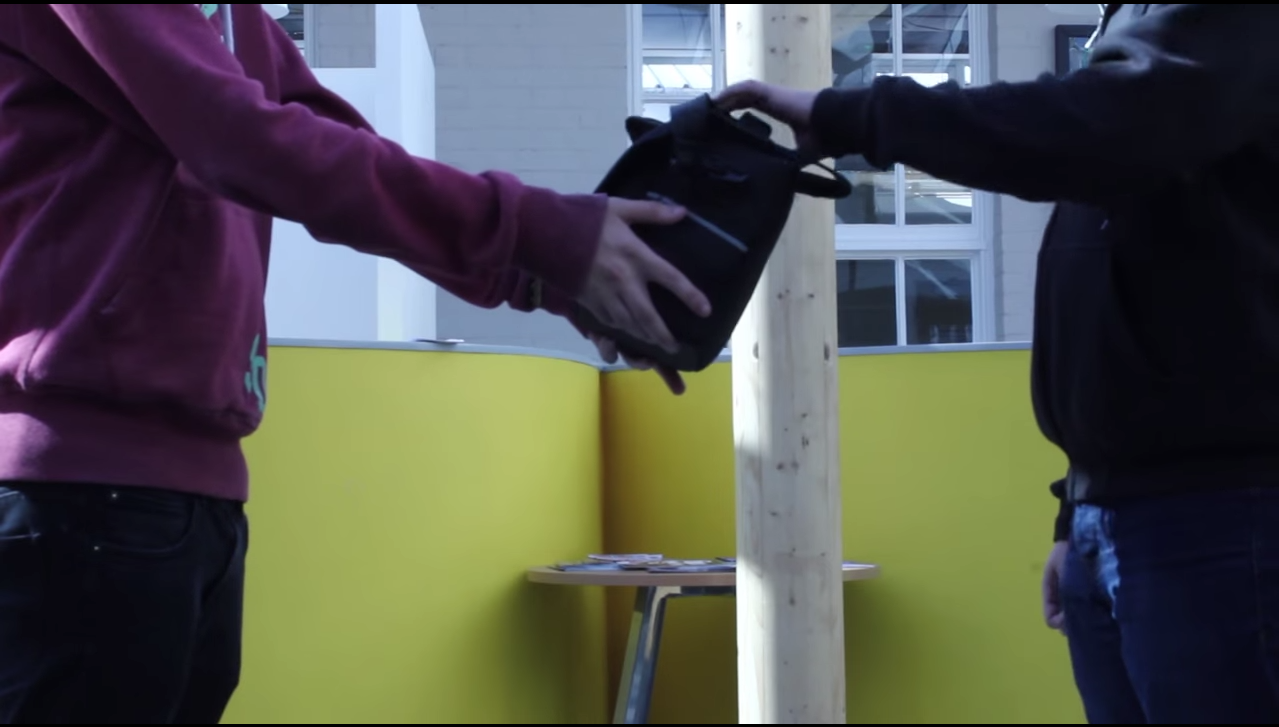
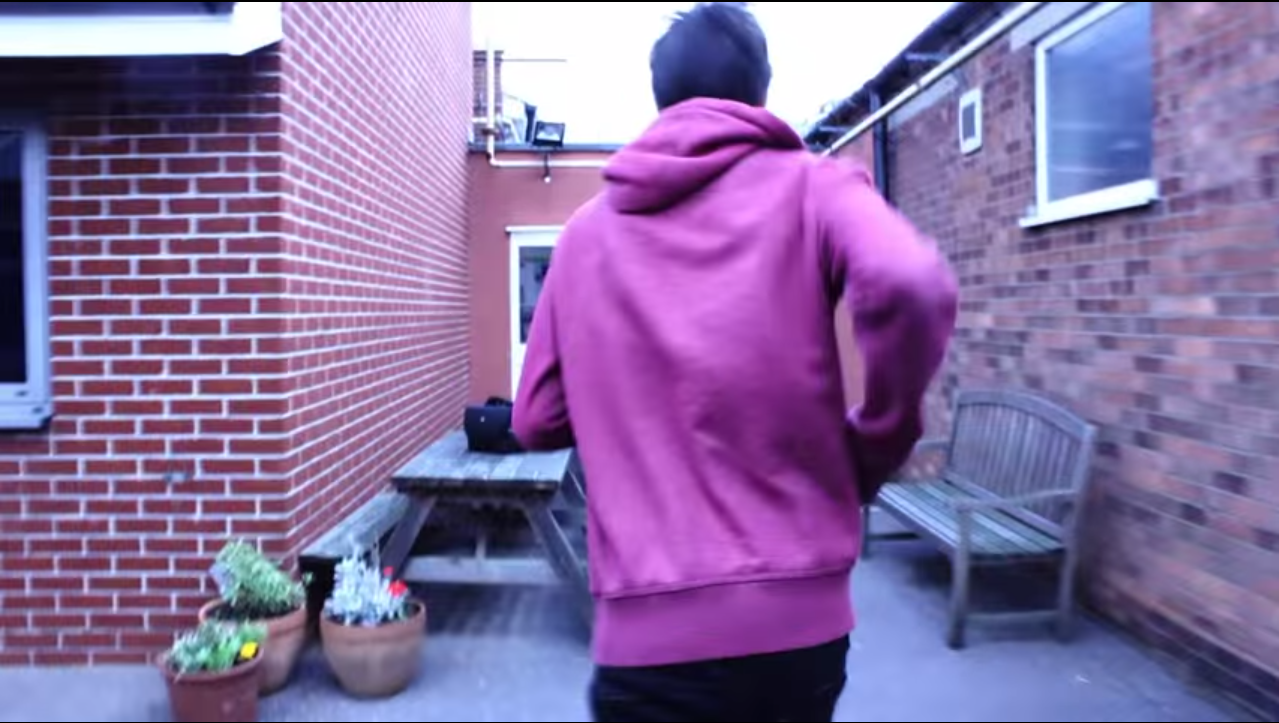
The two only had worn casual clothing. The ominous figure wore darker casual clothes and jeans while the person running wore lighter colours like red. We also used the camera case as a package because of it's shape and colour. The package being black suggested that the item was expensive and important.
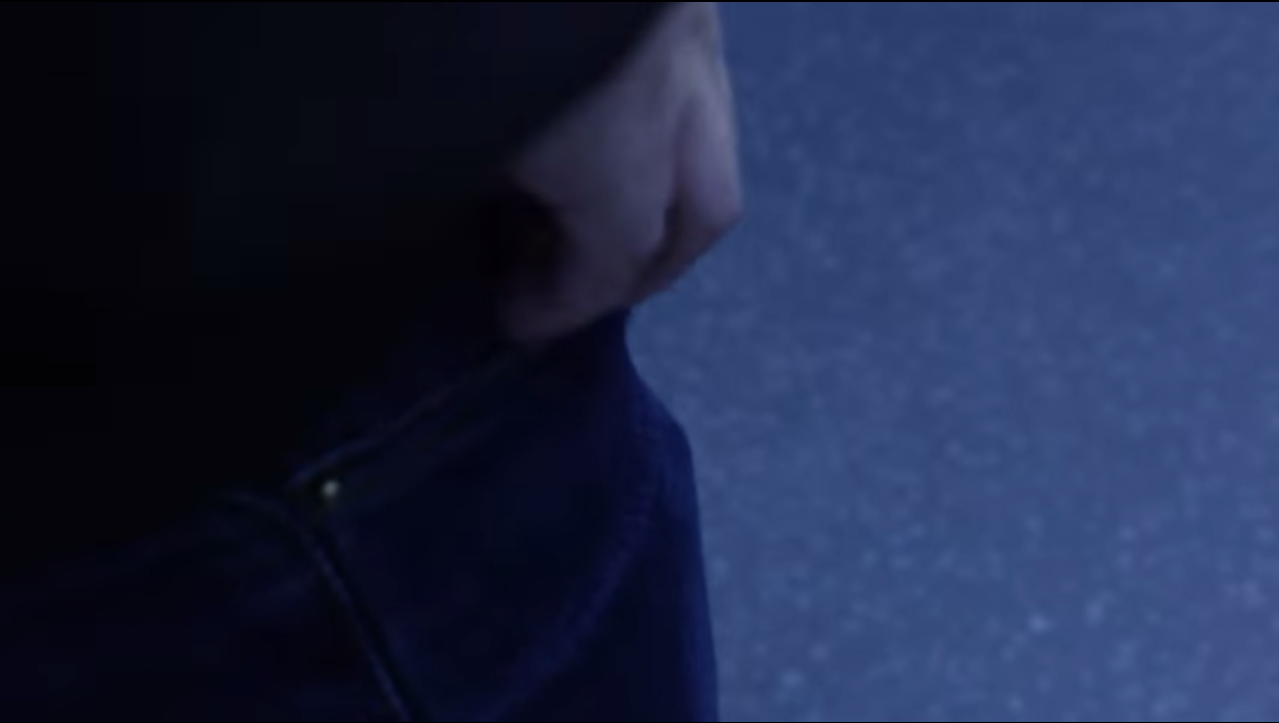
High and Low angles
We had thought that the ominous figure would be mysterious, so when showing him, we decided that using low angles would show us that the mysterious man has power. By not showing the face (in focus) of the mysterious man, it also told the audience that he is not to be trusted. For the runner/deliverer, we decided to use mostly eyelevel shots, but the sequence starts off with a high angle shot.


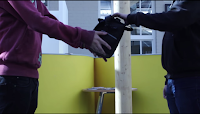

Different shot distances
For this, we wanted to build tension. We decided to use some shots with a really low field of view. We decided that this would give the sequence an urgent and claustrophobic feeling which added to the tension.


Any Camera movement
For this, we mostly used pans or tracking shots. Since we used some shaking camera movements too, we thought that this would add tension and urgency to the film. We also used some panning shots and some zooming shots, but the zooming shots were removed.


Fades or dissolves
We use a fade-out after the exchange had occurred. We thought that it shown that the sequence had ended. We used this to build effect with the tension of the film and with this, the music also faded out.


The Continuity System-
180 Degree Rule


We kept to the 180 degree rule. Even though we get a side-on shot of the action, we can see that the side on is not on the wrong side and in fact, keeps inside the 180 degree rule.
Establishing Shots


We used a tilt downwards to show where the sequence was set. This is called an Establishing Shot. This also allowed for the sequence to have a slow intro and then fast paced action.
Match Cuts on Action


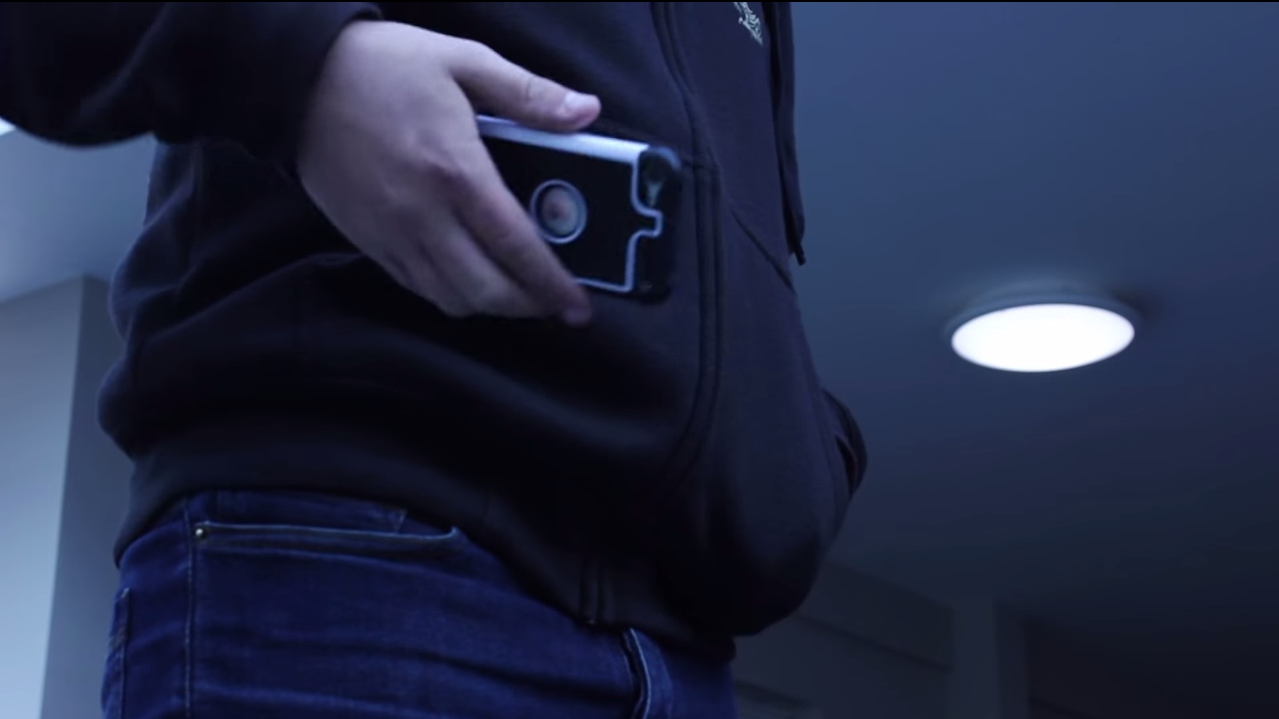
We used a Match on Action to show that the ominous character had pulled out his phone and told the client was late. We decided to use this sequence to build tension since all the actions are slow and the atmosphere is menacing.
POV Shots

We used a Point of View shot to show that the character was hastily looking for the other person. We used it to build tension and show that the character was in a hurry. We used the fast movements to also drive the action-film feeling home.

No comments:
Post a Comment